Netbox automation using Pynetbox
Pynetbox is a Python API client library for Netbox. In other words, it’s a library that does all the heavy lifting for us when dealing with the Netbox API. It saves us from crafting our API calls using the Python Requests library or the like1.
Where I see it especially useful is when it comes to how easy it makes it to search, update or delete existing data. Once you understand its structure (hopefully by the end of reading this post you will), you find it intuitive and easy to get useful work done quickly.
The installation is very easy as we can directly use pip for it:
pip install pynetbox
If we want to not only get information from Netbox but to create it, we need a read and write access token - this is actually what we want here.
In order to create a token, you need to do the following:
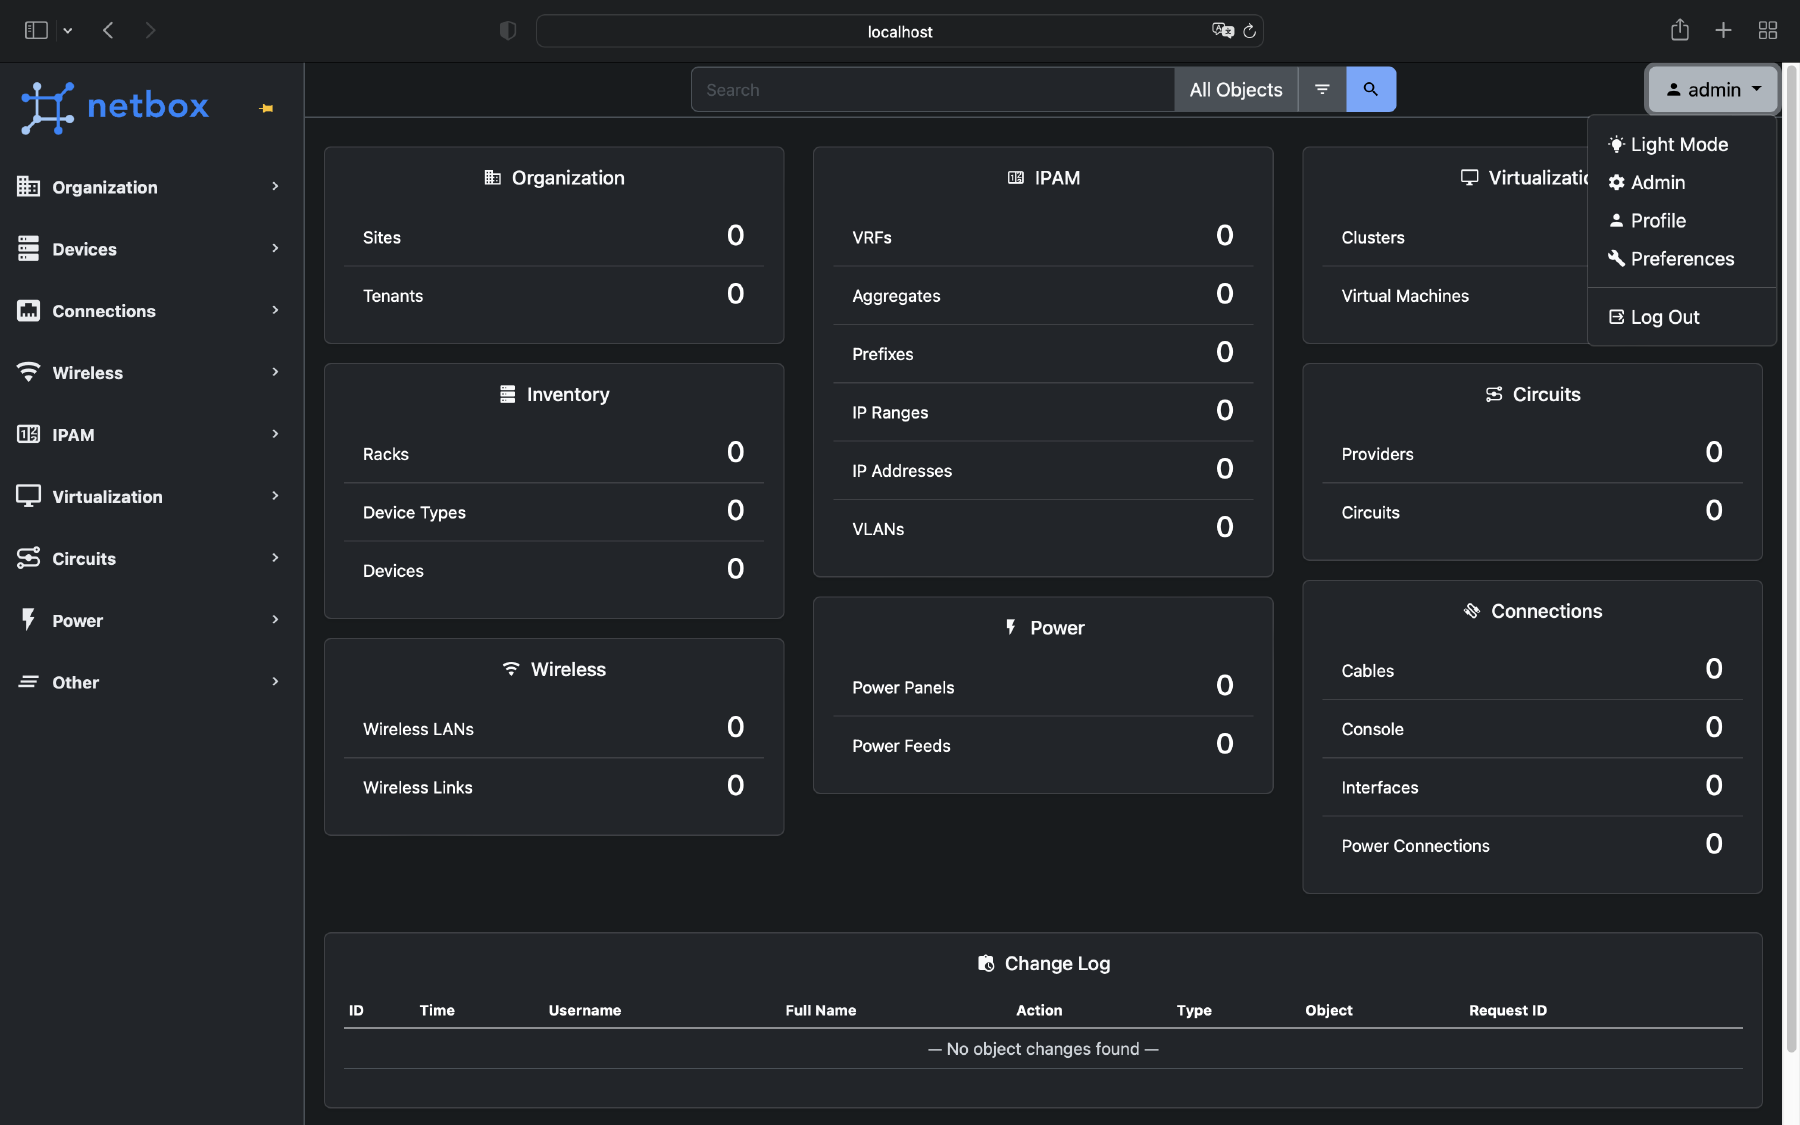
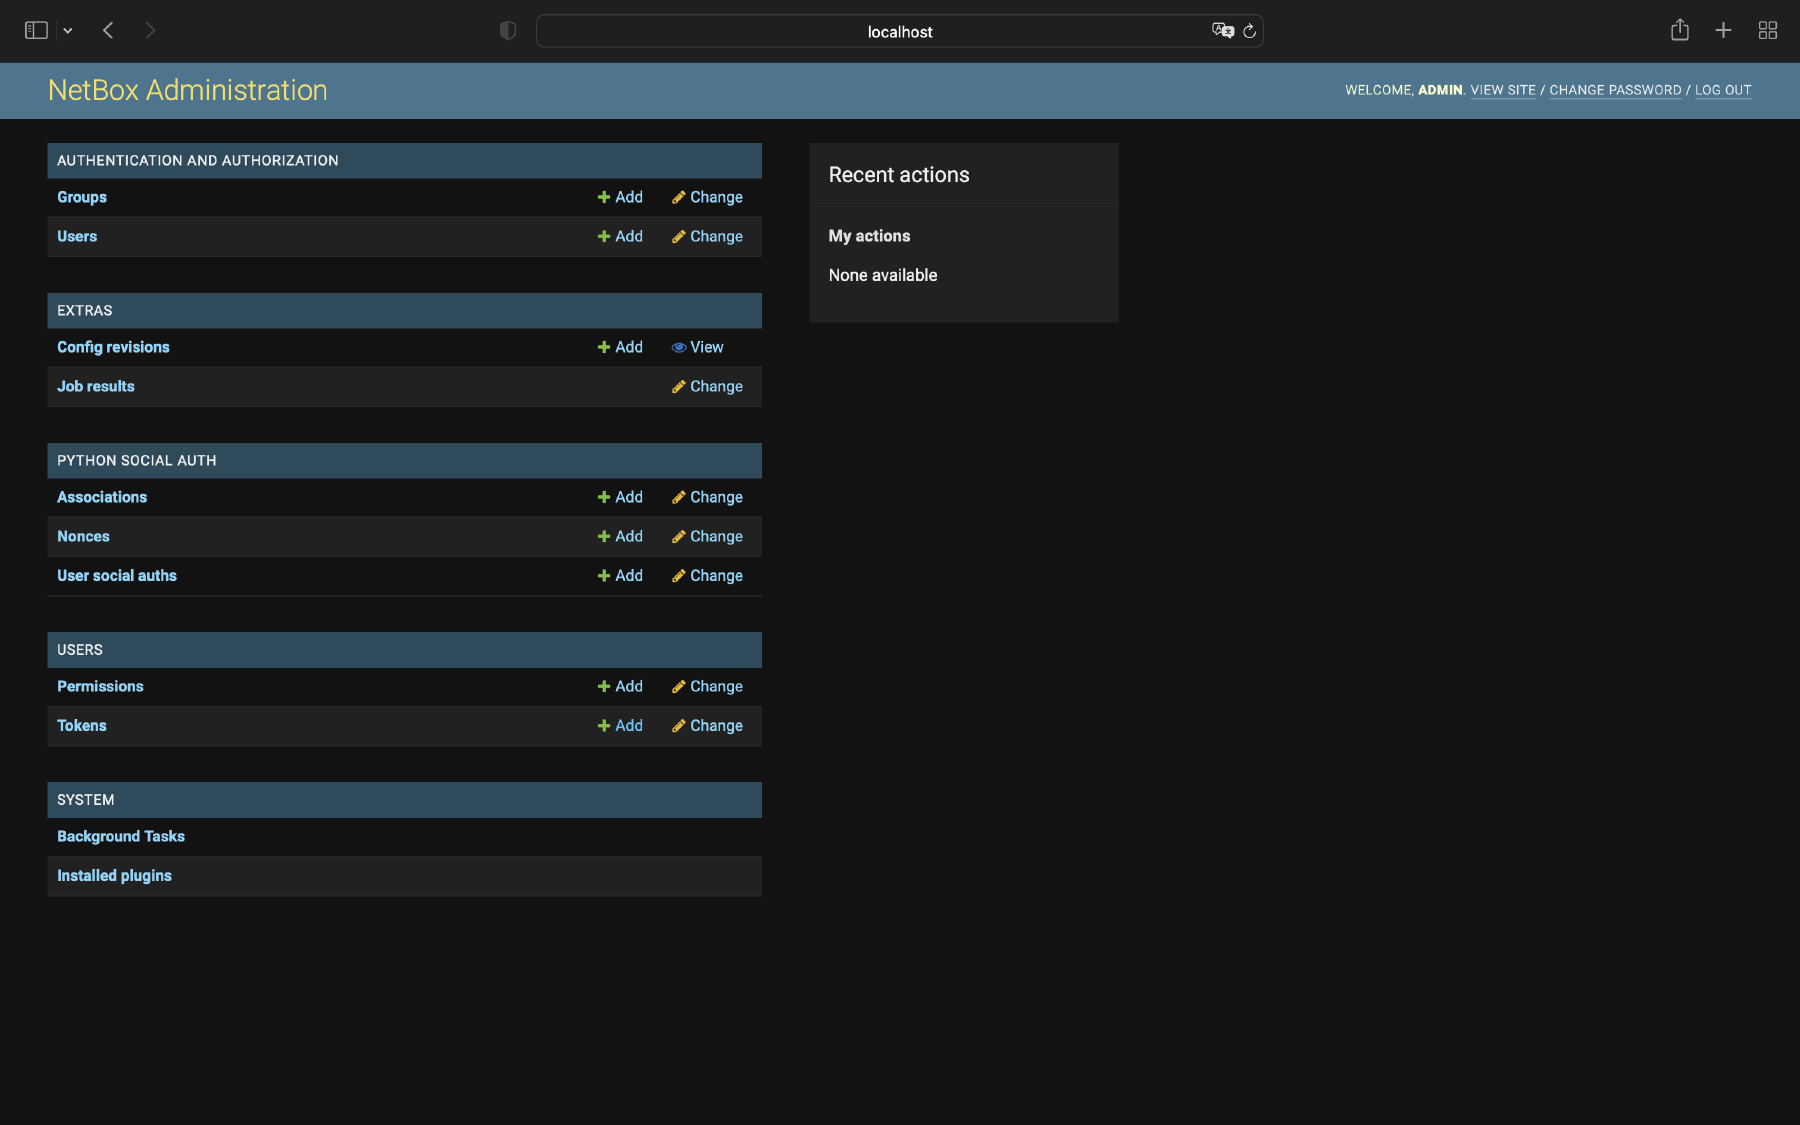
- Go to the Netbox admin panel.
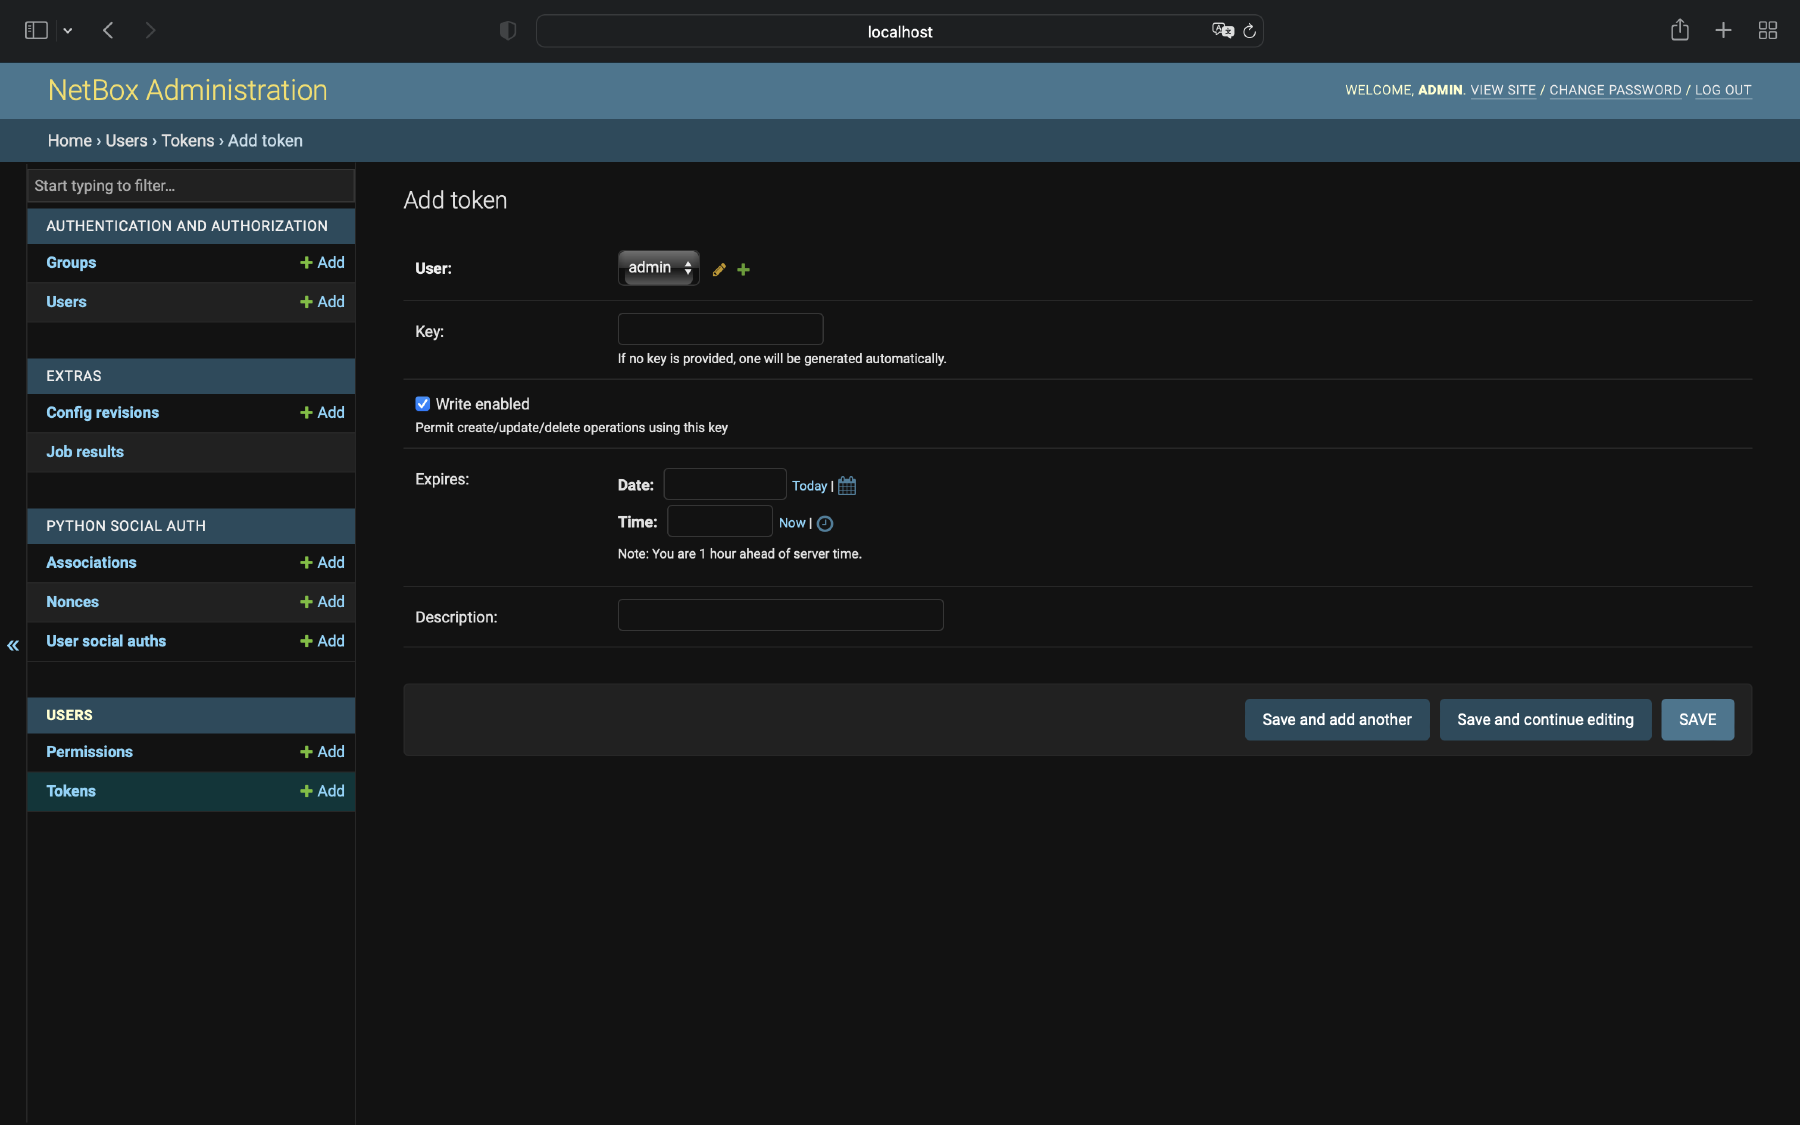
- Under users, add Token.
- Select the user, click ‘write enabled’ and ‘save’.
If you’ve followed the tutorial here to build Netbox Docker, you should already have a write-enabled token - the same I’m using in the upcoming examples.
As per the Pynetbox Github’s page :
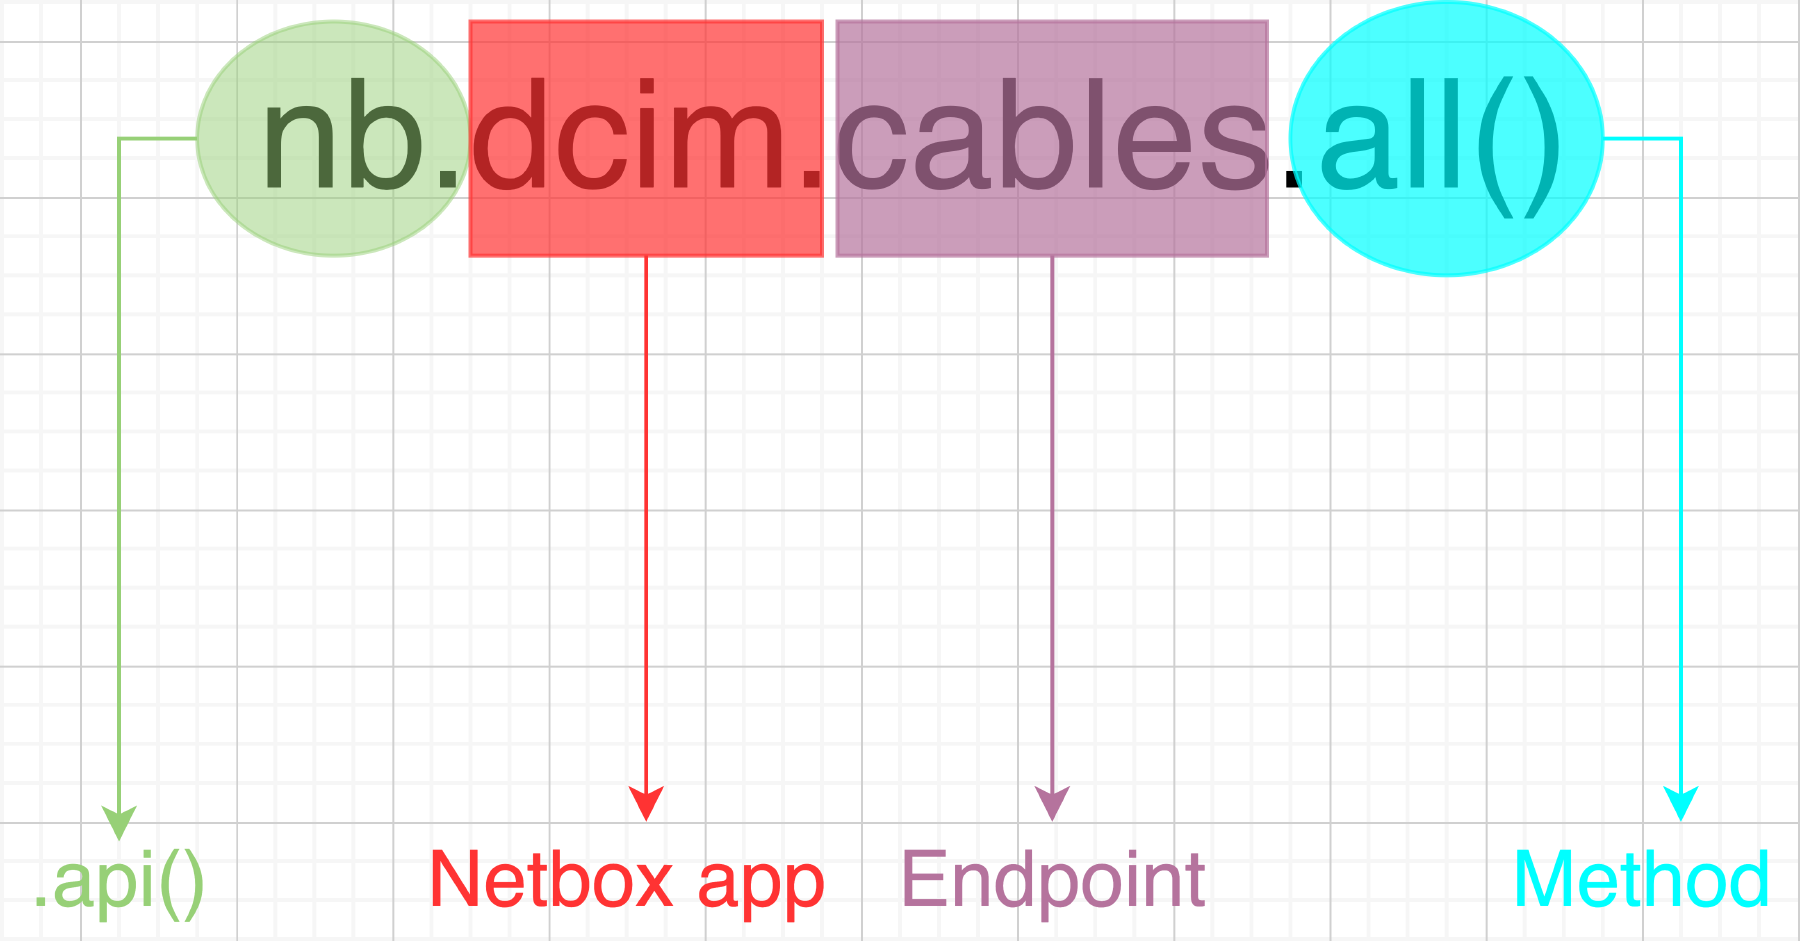
The pynetbox API is setup so that NetBox’s apps are attributes of the .api() object, and in turn those apps have attribute representing each endpoint. Each endpoint has a handful of methods available to carry out actions on the endpoint.
As the saying goes…a picture is worth a thousand words:
The first thing we need to do to work with Pynetbox is to instantiate the API object, everything else we discuss from here on assumes we have the ’nb’ API object2.
import pynetbox

NETBOX_URL = 'http://localhost:8000'
TOKEN = '0123456789abcdef0123456789abcdef01234567'

nb = pynetbox.api(url=NETBOX_URL, token=TOKEN)
There’s also the option to include multi-thread calls for the .filter() and .all() methods by adding the following extra parameter:
nb = pynetbox.api(url=NETBOX_URL, token=TOKEN, threading=True)
These are the top-level hierarchies for the type of data we can retrieve, create, modify and delete. Below are all the apps supported by Pynetbox:
- dcim
- ipam
- circuits
- secrets (on NetBox 2.11 and older)
- tenancy
- extras
- virtualization
- users (since NetBox 2.9)
- wireless (since NetBox 3.1)
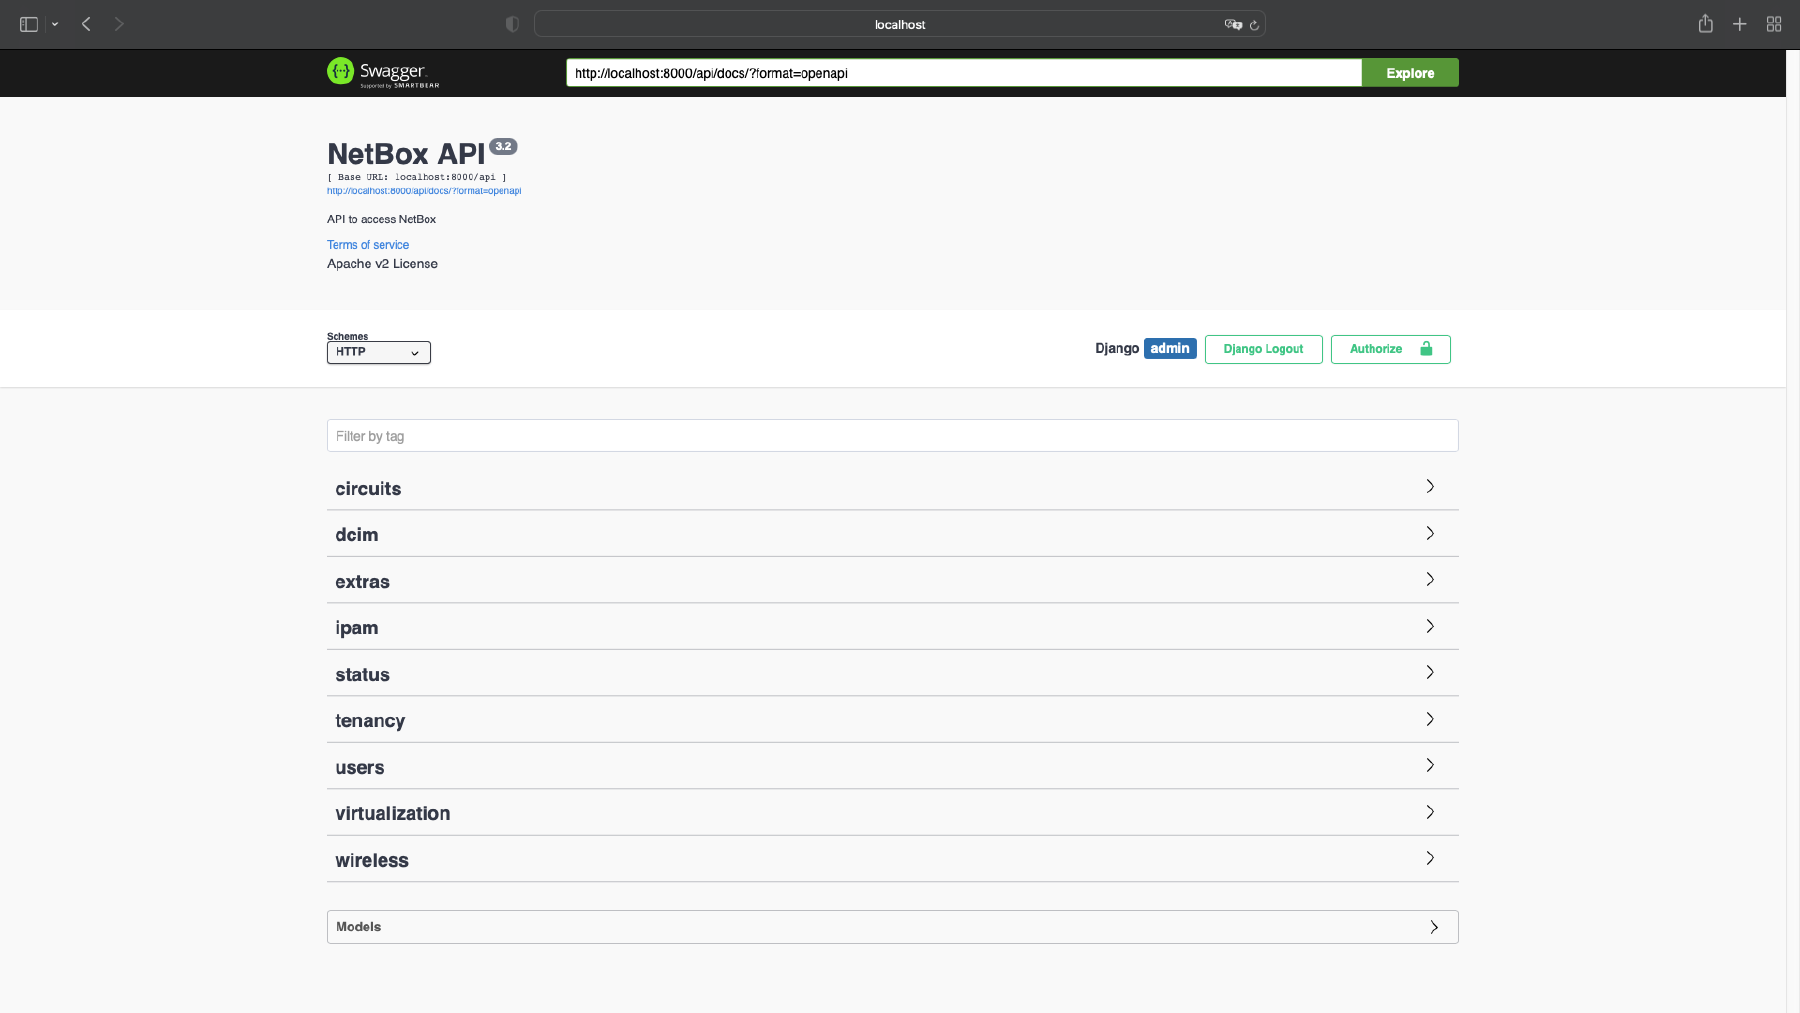
If you go to the API documentation http://localhost:8000/api/docs/ you will find all the above apps - you may think that’s exactly what’s above, but wait for the next section.
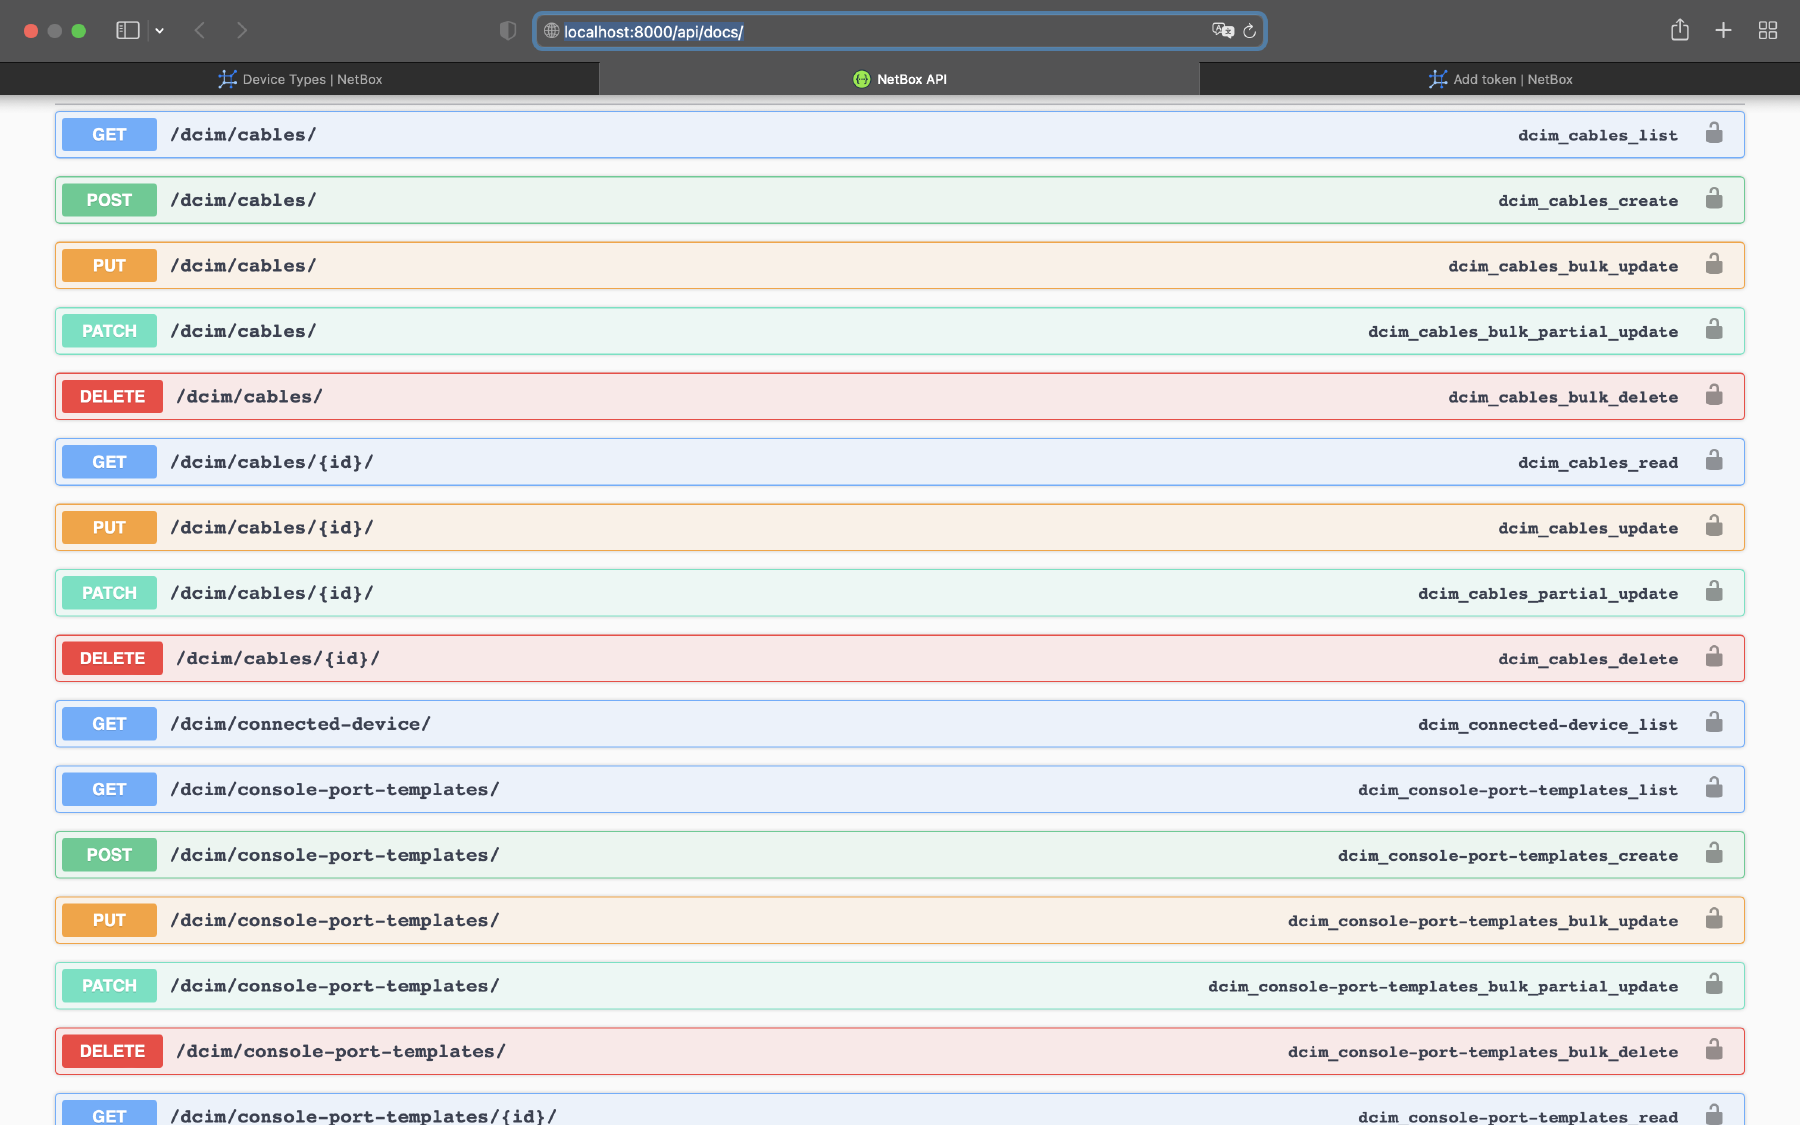
Here’s where we find the specifics for the general data we selected in the previous step. For instance, we use apps to distinguish between DCIM (physical stuff) and IPAM (IP address management), but once we’ve done that, how do we know how to interact with “cables” specifically? That’s what endpoints is all about.
In the API documentation, if we click on the /dcim/ section (already clicked by default), we find all the options available (not all shown in the screenshot):
From the above, we understand that to deal with cables we need:
nb.dcim.cables.?????
We’re almost there, just one more step left: methods.
At a high level we can divide them in two categories: methods to retrieve data from Netbox and methods to work with the data, whether is creating, modifying, or deleting it.
These are the main methods to retrieve information from Netbox, I won’t be covering all the methods/features so, please check the documentation to find all the details.
Returns all objects from a given endpoint. Example:
In [15]: vendors_all = nb.dcim.manufacturers.all()
In [16]: for vendor in vendors_all:
    ...:     print(vendor)
    ...:
Arista
Cisco
Fortinet
Juniper
Returns all choices from a given endpoint, keep in mind that this method is totally dependent on the endpoint you’re querying, as you’re going to see next, some endpoints don’t show anything.
In [17]: nb.dcim.manufacturers.choices()
Out[17]: {}
In [18]: pprint(nb.dcim.devices.choices())
{'airflow': [{'display_name': 'Front to rear', 'value': 'front-to-rear'},
             {'display_name': 'Rear to front', 'value': 'rear-to-front'},
             {'display_name': 'Left to right', 'value': 'left-to-right'},
             {'display_name': 'Right to left', 'value': 'right-to-left'},
             {'display_name': 'Side to rear', 'value': 'side-to-rear'},
             {'display_name': 'Passive', 'value': 'passive'},
             {'display_name': 'Mixed', 'value': 'mixed'}],
 'face': [{'display_name': 'Front', 'value': 'front'},
          {'display_name': 'Rear', 'value': 'rear'}],
 'status': [{'display_name': 'Offline', 'value': 'offline'},
            {'display_name': 'Active', 'value': 'active'},
            {'display_name': 'Planned', 'value': 'planned'},
            {'display_name': 'Staged', 'value': 'staged'},
            {'display_name': 'Failed', 'value': 'failed'},
            {'display_name': 'Inventory', 'value': 'inventory'},
            {'display_name': 'Decommissioning', 'value': 'decommissioning'}]}
For the “manufacturers” endpoint we don’t have any choices, as opposed to the “devices” one which does have some.
It counts the number of matches for your specific query:
In [21]: nb.dcim.manufacturers.count()
Out[21]: 4
We can see that it matches what we saw earlier with the all() method.
This method is quite useful, especially when we have a large dataset. The best way to use it is by filtering based on actual fields of the endpoint you’re querying.
For example, for manufacturers, we have the “Name” field:
In [30]: filter_manufacturer = nb.dcim.manufacturers.filter(name='Cisco')
In [31]: for manufacturer in filter_manufacturer:
    ...:     print(manufacturer)
    ...:
Cisco
If we try we a vendor that doesn’t exist:
In [49]: filter_manufacturer = nb.dcim.manufacturers.filter(name='Nvidia')
In [50]: for manufacturer in filter_manufacturer:
    ...:     print(manufacturer)
    ...:
In [51]:
It doesn’t return anything as there is none.
Another example, let’s say we want to know if we have in the device model “DCS-7010T-48”:
In [54]: filter_device_type = nb.dcim.device_types.filter(model='DCS-7010T-48')
In [55]: for device in filter_device_type:
    ...:     print(device)
    ...:
DCS-7010T-48
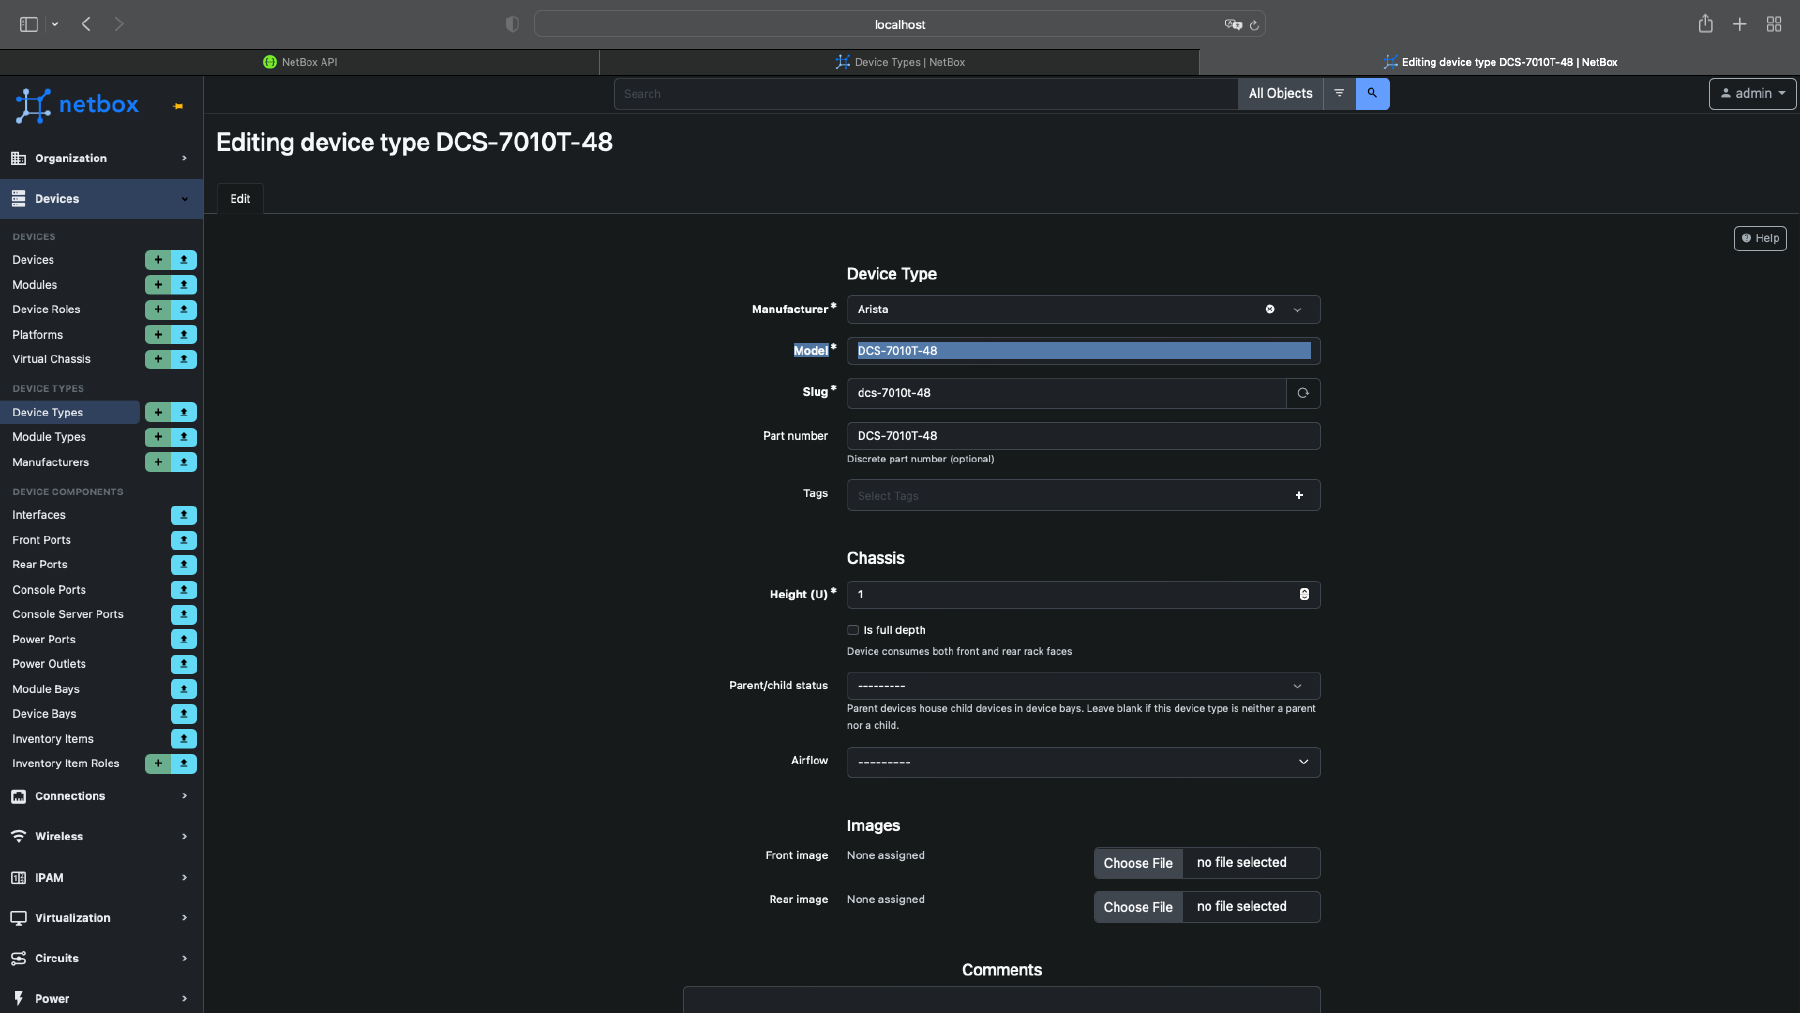
You may wonder…the “device_types” endpoint is fine, you found it in the Netbox API docs but how about the filtering variable “model”?
I went to the Netbox GUI, click edit on the device and found it there. Anything supported by the endpoint can be used as a filtering variable.
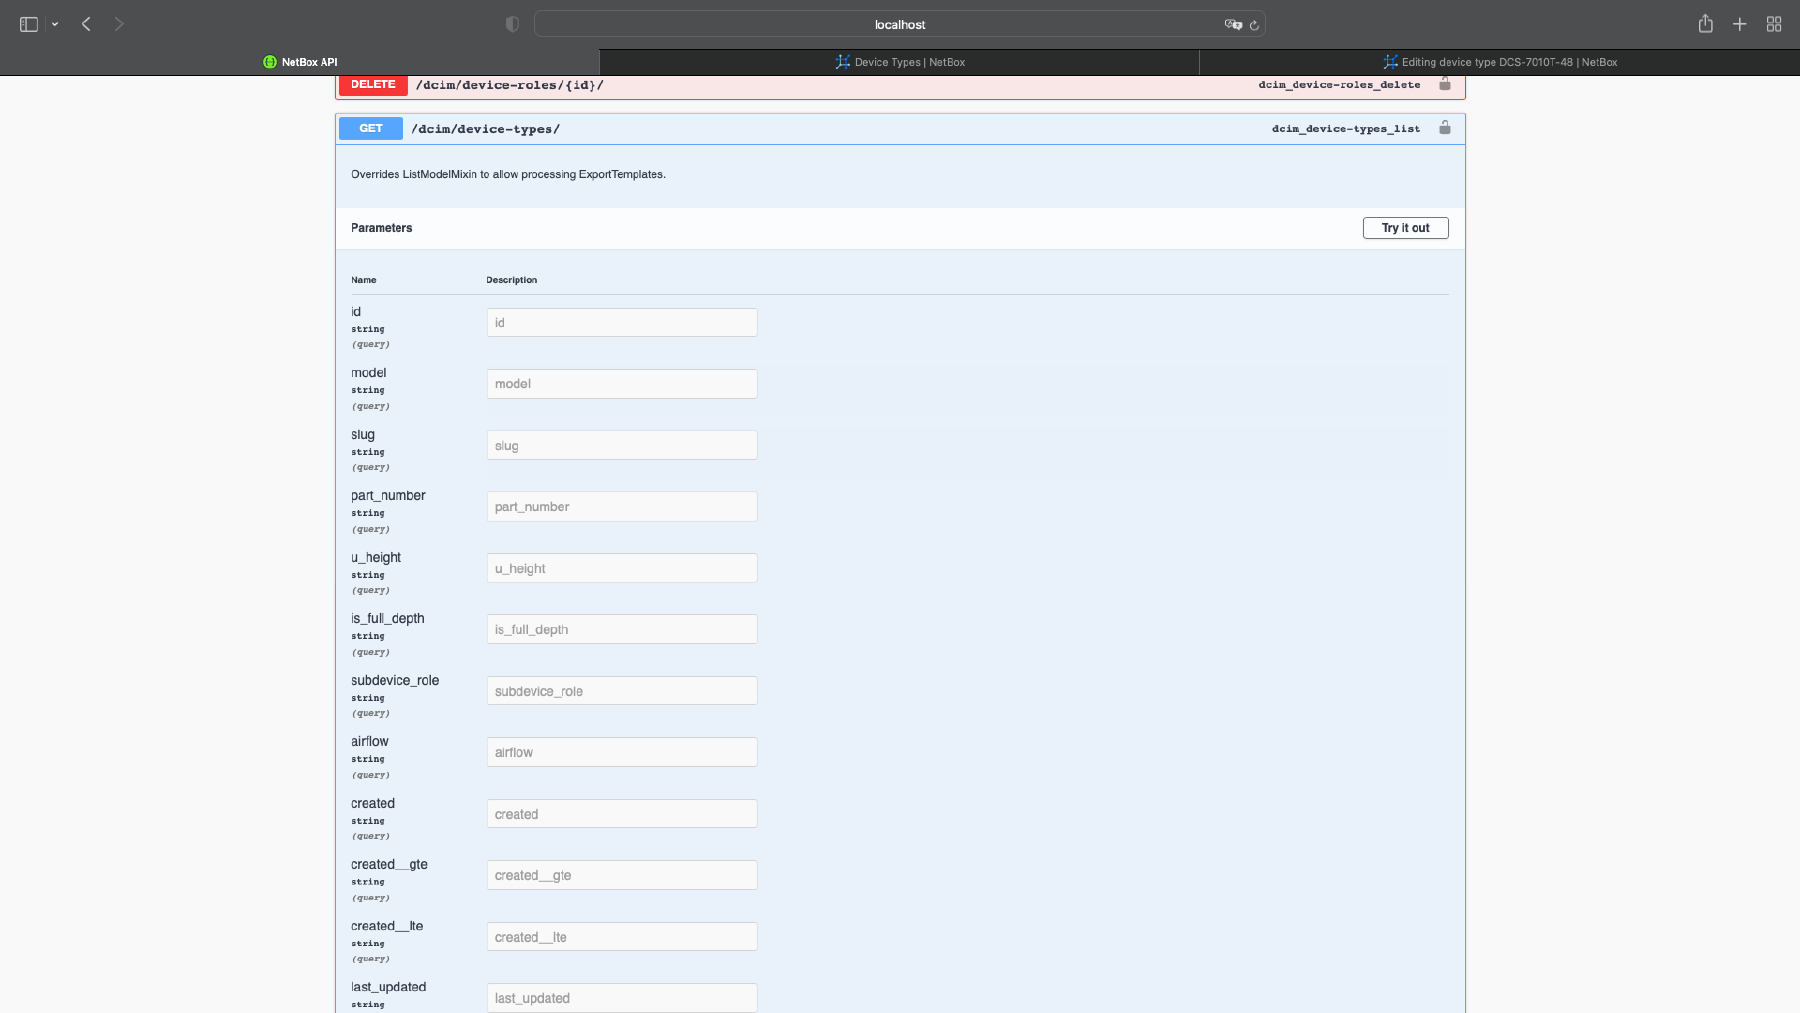
You can also find it in the Netbox API docs:
Any endpoint that uses hyphens, when converted to Pynetbox syntax, must be converted to underscores, as per above (device_types as opposed to device-types). Otherwise, you’ll get a nice “NameError” Python exception.
Finally, the last method in this section, and probably the most important as it’s heavily relied upon by the “working with data” methods.
The difference between all(), filter(), and get() is that all() and filter() provide shallow information about what’s queried i.e. just the names but get() provides a lot of information.
In [38]: nb.dcim.manufacturers.get(name='Cisco')
Out[38]: Cisco
At face value, it seems like it provides just the names similarly to all() and filter() but if we cast the object as a dictionary we can see that there is a lot more to it:
In [39]: dict(nb.dcim.manufacturers.get(name='Cisco'))
Out[39]:
{'id': 2,
 'url': 'http://localhost:8000/api/dcim/manufacturers/2/',
 'display': 'Cisco',
 'name': 'Cisco',
 'slug': 'cisco',
 'description': '',
 'tags': [],
 'custom_fields': {},
 'created': '2022-08-03T06:52:44.486022Z',
 'last_updated': '2022-08-03T06:52:44.486036Z',
 'devicetype_count': 523,
 'inventoryitem_count': 0,
 'platform_count': 0}
In this section, we’re going to discuss the methods that allow us to do more than just querying the data - keep in mind that these methods require a ‘write enabled’ token.
In this example, we’re going to create a new prefix. As usual, we need to find within the Netbox API docs the required app and endpoint for this - the method, as we know already, is going to be create().
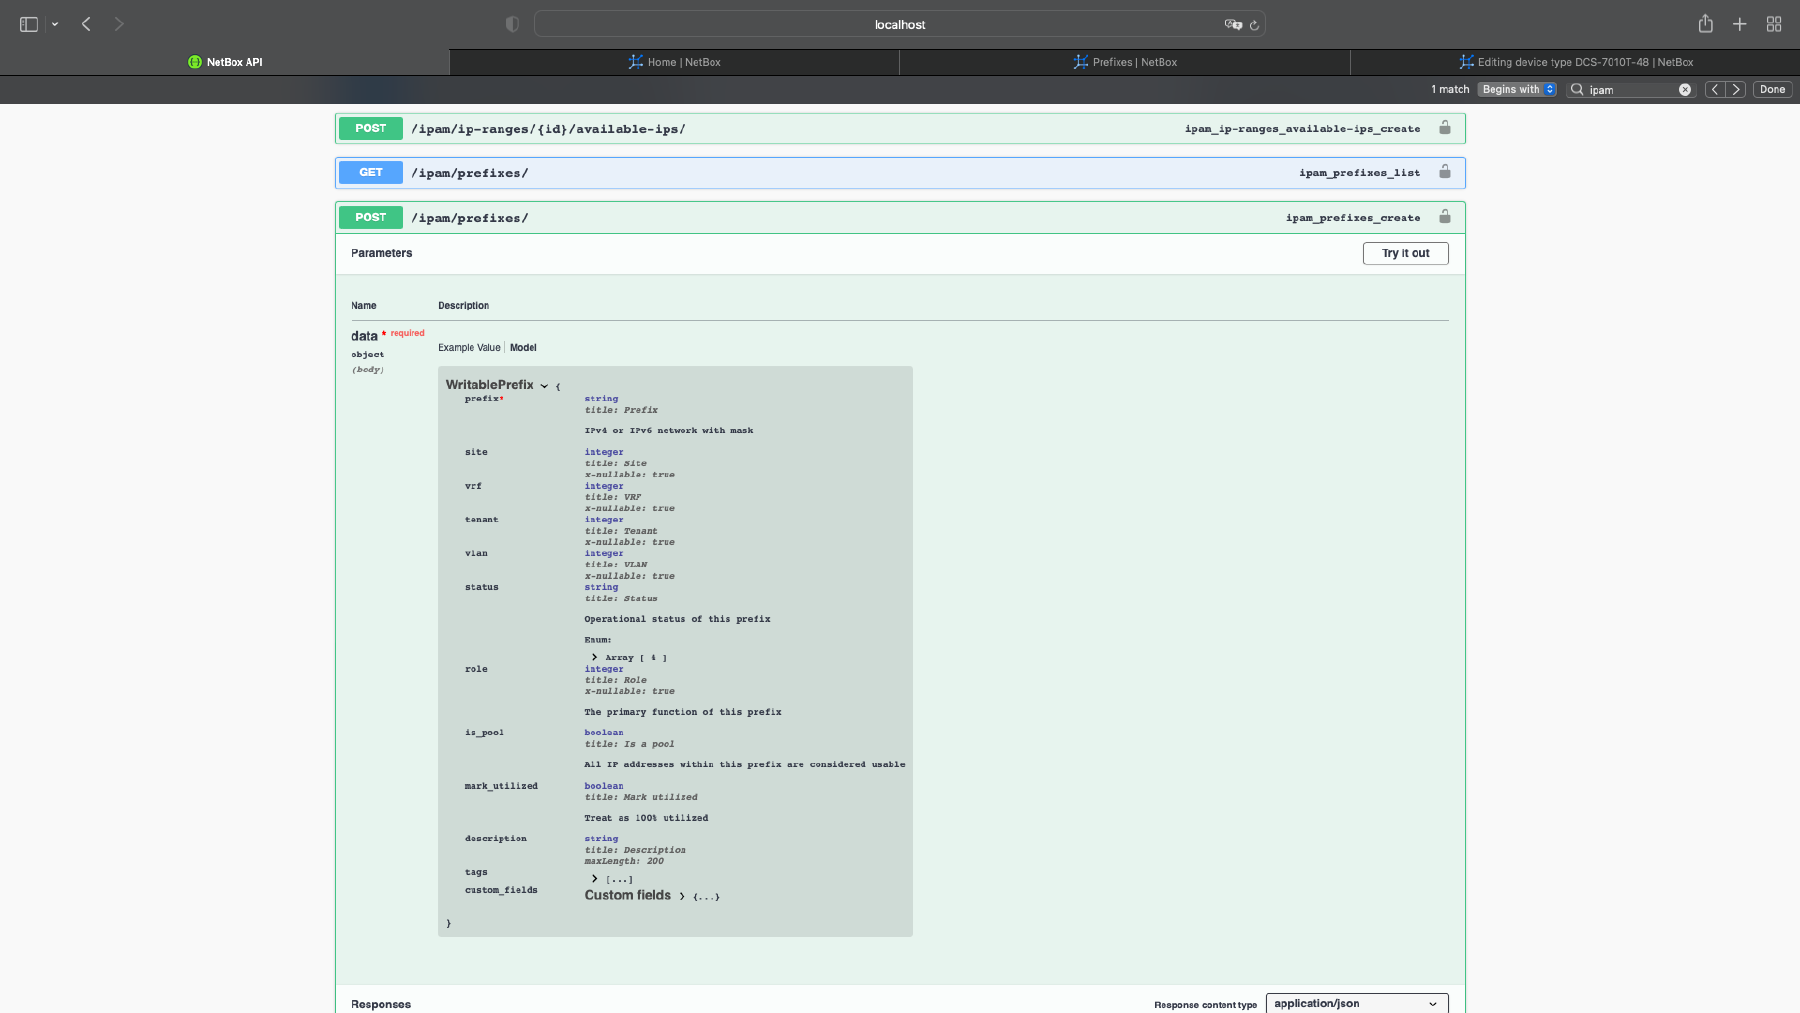
We also need to know the required fields to create a new prefix - again Netbox API docs come to the rescue:
As we can see, the only “must” is the actual prefix, so let’s create it:
In [74]: create_prefix = nb.ipam.prefixes.create(prefix='10.0.0.0/8')
In [75]: dict(create_prefix)
Out[75]:
{'id': 2,
 'url': 'http://localhost:8000/api/ipam/prefixes/2/',
 'display': '10.0.0.0/8',
 'family': {'value': 4, 'label': 'IPv4'},
 'prefix': '10.0.0.0/8',
 'site': None,
 'vrf': None,
 'tenant': None,
 'vlan': None,
 'status': {'value': 'active', 'label': 'Active'},
 'role': None,
 'is_pool': False,
 'mark_utilized': False,
 'description': '',
 'tags': [],
 'custom_fields': {},
 'created': '2022-08-03T21:57:20.209391Z',
 'last_updated': '2022-08-03T21:57:20.209406Z',
 'children': 0,
 '_depth': 0}
If you’ve noticed, I saved the output of the object creation into a variable, and that’s because the output is not a simple ‘OK’ but an object containing all the information pertaining to the prefix as it was created: most of the stuff is set to ‘None’ due to us not configuring it previously.
Let’s leverage the “create_prefix” variable from the previous method and update the prefix with some extra info - this was the reason for saving it into a variable. Keep in mind that the values we can use are always determined by the API docs, for instance for the VLAN, it asks for an integer (unique identifier you can find using get), so you can’t just use the VLAN name. Let’s try to add a VLAN to this prefix.
- Find the unique identifier for this VLAN, as we can see in the dictionary below, we have ‘id’ and ‘vid’, we’re after the former:
In [90]: dict(nb.ipam.vlans.get(name='MGMT_VLAN'))
Out[90]:
{'id': 1,
 'url': 'http://localhost:8000/api/ipam/vlans/1/',
 'display': 'MGMT_VLAN (100)',
 'site': None,
 'group': None,
 'vid': 100,
 'name': 'MGMT_VLAN',
 'tenant': None,
 'status': {'value': 'active', 'label': 'Active'},
 'role': None,
 'description': '',
 'tags': [],
 'custom_fields': {},
 'created': '2022-08-03T22:09:27.721598Z',
 'last_updated': '2022-08-03T22:09:27.722169Z',
 'prefix_count': 0}
In [91]: nb.ipam.vlans.get(name='MGMT_VLAN').id
Out[91]: 1
- Let’s add it to our prefix and check the status of the prefix object:
In [92]: create_prefix.vlan = 1

In [93]: dict(create_prefix)
Out[93]:
{'id': 2,
 'url': 'http://localhost:8000/api/ipam/prefixes/2/',
 'display': '10.0.0.0/8',
 'family': {'value': 4, 'label': 'IPv4'},
 'prefix': '10.0.0.0/8',
 'site': None,
 'vrf': None,
 'tenant': None,
 'vlan': 1,
 'status': {'value': 'active', 'label': 'Active'},
 'role': None,
 'is_pool': False,
 'mark_utilized': False,
 'description': '',
 'tags': [],
 'custom_fields': {},
 'created': '2022-08-03T21:57:20.209391Z',
 'last_updated': '2022-08-03T21:57:20.209406Z',
 'children': 0,
 '_depth': 0}
We’re not done just yet as the changes to the prefix object have been made locally, we need to push them to Netbox. Coincidentally, this is exactly what the save() method does.
Time to push the changes then:
In [94]: create_prefix.save()
Out[94]: True
‘True’ means that the changes were made correctly, let’s verify so using get() - by now you’ve probably grasped how important get() is.
In [96]: dict(nb.ipam.prefixes.get(prefix='10.0.0.0/8'))
Out[96]:
{'id': 2,
 'url': 'http://localhost:8000/api/ipam/prefixes/2/',
 'display': '10.0.0.0/8',
 'family': {'value': 4, 'label': 'IPv4'},
 'prefix': '10.0.0.0/8',
 'site': None,
 'vrf': None,
 'tenant': None,
 'vlan': {'id': 1,
  'url': 'http://localhost:8000/api/ipam/vlans/1/',
  'display': 'MGMT_VLAN (100)',
  'vid': 100,
  'name': 'MGMT_VLAN'},
 'status': {'value': 'active', 'label': 'Active'},
 'role': None,
 'is_pool': False,
 'mark_utilized': False,
 'description': '',
 'tags': [],
 'custom_fields': {},
 'created': '2022-08-03T21:57:20.209391Z',
 'last_updated': '2022-08-03T22:22:48.975930Z',
 'children': 0,
 '_depth': 0}
Nice, looks like it got configured correctly after all! Let’s update a couple more things just for fun:
In [97]: create_prefix.description = 'Management Network Prefix AGG'
In [98]: create_prefix.site = 1
In [99]: dict(create_prefix)
Out[99]:
{'id': 2,
 'url': 'http://localhost:8000/api/ipam/prefixes/2/',
 'display': '10.0.0.0/8',
 'family': {'value': 4, 'label': 'IPv4'},
 'prefix': '10.0.0.0/8',
 'site': 1,
 'vrf': None,
 'tenant': None,
 'vlan': 1,
 'status': {'value': 'active', 'label': 'Active'},
 'role': None,
 'is_pool': False,
 'mark_utilized': False,
 'description': 'Management Network Prefix AGG',
 'tags': [],
 'custom_fields': {},
 'created': '2022-08-03T21:57:20.209391Z',
 'last_updated': '2022-08-03T21:57:20.209406Z',
 'children': 0,
 '_depth': 0}
In [100]: create_prefix.save()
Out[100]: True
One more check:
In [101]: dict(nb.ipam.prefixes.get(prefix='10.0.0.0/8'))
Out[101]:
{'id': 2,
 'url': 'http://localhost:8000/api/ipam/prefixes/2/',
 'display': '10.0.0.0/8',
 'family': {'value': 4, 'label': 'IPv4'},
 'prefix': '10.0.0.0/8',
 'site': {'id': 1,
  'url': 'http://localhost:8000/api/dcim/sites/1/',
  'display': 'US East',
  'name': 'US East',
  'slug': 'us-east'},
 'vrf': None,
 'tenant': None,
 'vlan': {'id': 1,
  'url': 'http://localhost:8000/api/ipam/vlans/1/',
  'display': 'MGMT_VLAN (100)',
  'vid': 100,
  'name': 'MGMT_VLAN'},
 'status': {'value': 'active', 'label': 'Active'},
 'role': None,
 'is_pool': False,
 'mark_utilized': False,
 'description': 'Management Network Prefix AGG',
 'tags': [],
 'custom_fields': {},
 'created': '2022-08-03T21:57:20.209391Z',
 'last_updated': '2022-08-03T22:26:25.137157Z',
 'children': 0,
 '_depth': 0}
This method is a combination of all the steps in the previous method in one step. You create a dictionary with the specific things you want to update, call this method, and it directly pushes the changes to Netbox.
Let’s take a look at current state of the prefix we want to modify:
In [122]: prefix_2 = nb.ipam.prefixes.get(prefix='172.16.0.0/16')
In [123]: dict(prefix_2)
Out[123]:
{'id': 4,
 'url': 'http://localhost:8000/api/ipam/prefixes/4/',
 'display': '172.16.0.0/16',
 'family': {'value': 4, 'label': 'IPv4'},
 'prefix': '172.16.0.0/16',
 'site': None,
 'vrf': None,
 'tenant': None,
 'vlan': None,
 'status': {'value': 'active', 'label': 'Active'},
 'role': None,
 'is_pool': False,
 'mark_utilized': False,
 'description': '',
 'tags': [],
 'custom_fields': {},
 'created': '2022-08-04T15:20:45.245603Z',
 'last_updated': '2022-08-04T15:20:45.245692Z',
 'children': 0,
 '_depth': 0}
Let’s say we want to update its description and site details, so we create a dictionary with that info and pass it as an argument to the update() method:
In [124]: prefix_2_changes = {
     ...: 'site': 1,
     ...: 'description': 'Office Networks AGG',
     ...: }
In [125]: prefix_2.update(prefix_2_changes)
Out[125]: True
Let’s see the changes:
In [126]: dict(nb.ipam.prefixes.get(prefix='172.16.0.0/16'))
Out[126]:
{'id': 4,
 'url': 'http://localhost:8000/api/ipam/prefixes/4/',
 'display': '172.16.0.0/16',
 'family': {'value': 4, 'label': 'IPv4'},
 'prefix': '172.16.0.0/16',
 'site': {'id': 1,
  'url': 'http://localhost:8000/api/dcim/sites/1/',
  'display': 'US East',
  'name': 'US East',
  'slug': 'us-east'},
 'vrf': None,
 'tenant': None,
 'vlan': None,
 'status': {'value': 'active', 'label': 'Active'},
 'role': None,
 'is_pool': False,
 'mark_utilized': False,
 'description': 'Office Networks AGG',
 'tags': [],
 'custom_fields': {},
 'created': '2022-08-04T15:20:45.245603Z',
 'last_updated': '2022-08-04T15:23:27.494298Z',
 'children': 0,
 '_depth': 0}
Finally, let’s delete the prefix:
In [128]: prefix_2.delete()
Out[128]: True
Is it gone?
In [129]:  nb.ipam.prefixes.get(prefix='172.16.0.0/16')
In [130]:
It is indeed!
In this post we’ve covered what I belive are the most important features of Pynetbox. Hopefully by now you should be able to know enough to start doing some useful things. In an upcoming post, I’ll cover an end-to-end real automation use case leveraging what we’ve seen here.
